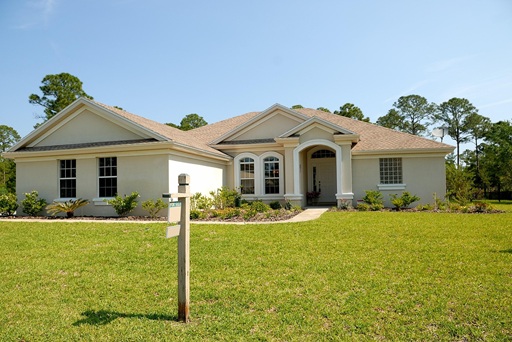
Finding reliable exterior painting contractors near you starts with knowing what matters most: skill, insurance, and proven local results. You should choose a contractor who demonstrates clear experience with exterior surfaces, carries proper insurance, and can show before-and-after examples or local references.
In Exterior Painting Contractors Near Me You’ll learn how to evaluate companies, what questions to ask during quotes, and how proper project preparation and quality checks protect your investment. This guide arms you with practical steps so you can hire confidently and avoid common pitfalls.
Selecting the Right Painting Company
Focus on verified credentials, specific services offered, and transparent pricing. Prioritize contractors who document prep work, warranties, insurance, and a clear scope so you know exactly what you’re paying for.
Evaluating Professional Credentials
Check for a current business license and proof of general liability insurance and workers’ compensation. Ask for certificate numbers and verify them with your state or local licensing board.
Request references and recent project photos, preferably of homes similar to yours. Call at least two references and ask about timeliness, cleanup, adherence to estimates, and any post-job touch-ups.
Look for manufacturer certifications (e.g., Sherwin-Williams, Benjamin Moore) and professional memberships like the Better Business Bureau. Certifications signal training on product use and application techniques that affect durability and finish quality.
Get a written contract that lists paint brands, product codes, surface preparation steps, start/end dates, and warranty terms. If a contractor hesitates to put details in writing, consider another bidder.
Comparing Service Offerings
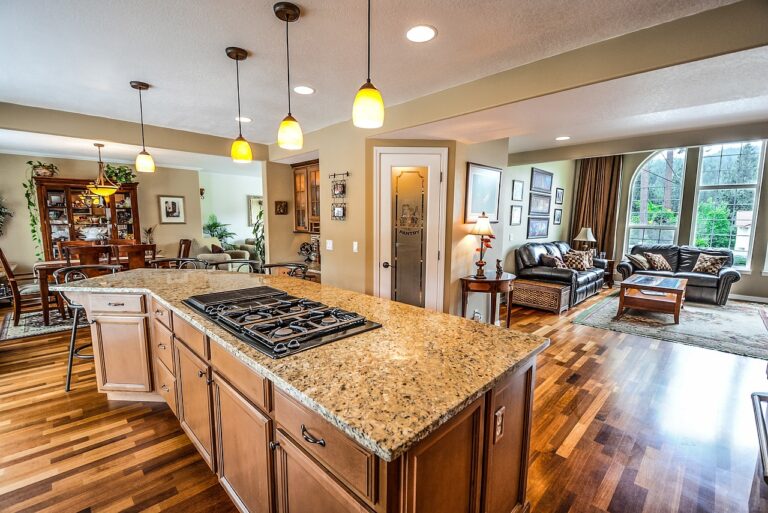
Identify exactly which exterior surfaces the company will handle: siding type (vinyl, fiber cement, wood), trim, fascia, soffits, decks, and metal components. A clear list prevents scope creep and surprise charges.
Confirm preparatory services such as power washing, caulking, wood repair, rust treatment, and mildew remediation. Proper prep often determines the lifespan of the job more than paint choice.
Ask whether they include stain blocking/priming and the number of finish coats. Some contractors quote two coats on all surfaces while others do one coat over factory primer; this affects durability and final appearance.
Check for additional services like color consultation, spray vs. brush application, gutter and window masking, and post-job cleanup. Compare written scopes side-by-side to see which bids offer real value, not just lower upfront cost.
Understanding Pricing Models
Request detailed, line-item estimates rather than per-hour or vague flat prices. The estimate should break out labor, materials (with brand and sheen), equipment rental, surface prep, and disposal fees.
Ask how they handle unexpected conditions such as rotten wood or hidden rust. Reputable contractors list contingency rates or require change orders for added work so you won’t face surprise invoices.
Compare bids using a consistent checklist: same surfaces, same number of coats, same paint brand and sheen, and identical prep steps. Use that checklist to judge whether a lower price reflects real savings or omitted work.
Clarify payment schedule and retainage. Typical patterns are a modest deposit, progress payments tied to milestones, and a final payment only after a walkthrough and punch-list completion.
Project Preparation and Quality Assurance
You’ll ensure surfaces are sound, choose coatings that match climate and substrate, and follow safety and cleanup steps that protect property and workers. These practices reduce callbacks, extend paint life, and keep your schedule on track.
Surface Preparation Techniques
You should start by inspecting all exterior surfaces for loose paint, rot, and mildew. Use pressure washing at 1,200–2,000 psi for siding and brick, then allow full drying—typically 24–48 hours depending on humidity.
Scrape and sand failing paint to a feathered edge; for lead-era homes, follow EPA lead-safe work practices and test before disturbing substrate. Replace or repair rotten wood, tighten or replace loose trim, and fill gaps with exterior-grade sealant to prevent moisture intrusion.
Prime bare wood, patched areas, and chalky surfaces with a bonding or primer-sealer appropriate to the substrate. Mask windows, fixtures, and landscaping with low-tack tape and breathable drop cloths to protect from overspray and drips.
Paint and Material Selection
Match paint type to the substrate and exposure: use 100% acrylic latex for most siding and trim because it resists UV and flexes with temperature changes. Choose oil-based or alkyd primers where stain-blocking or metal adhesion is needed.
Pick high-quality exterior paint labeled for your climate—look for mildew resistance and warranties that cover peeling and fading. Select finish levels strategically: satin or low-luster for siding to hide imperfections, semi-gloss for trim and doors for durability and washability.
Confirm material quantities with a measured takeoff and buy 10–15% extra for touch-ups. Keep product data sheets on site for dry time, recoat windows, and VOC information to ensure proper application windows.
Safety Practices and Cleanup
Require personal protective equipment: N95 or P100 respirators for sanding, chemical-resistant gloves for solvents, and fall protection when working above 6 feet. Use scaffolding with guardrails or certified harness systems and inspect equipment daily.
Control lead and hazardous-material exposure by setting up containment, using HEPA vacuums, and disposing of debris per local regulations. Keep fire extinguishers and spill kits accessible when using flammable coatings or solvents.
Clean up each day to protect your property and neighbors: remove masking, collect paint chips, and store leftovers in labeled, sealed containers. Provide you with final walk-throughs and documented touch-up paint for future maintenance.